
Cloned-Drive Troubleshooting Guide
Your Clone Finished—So Why Won’t Windows Start?
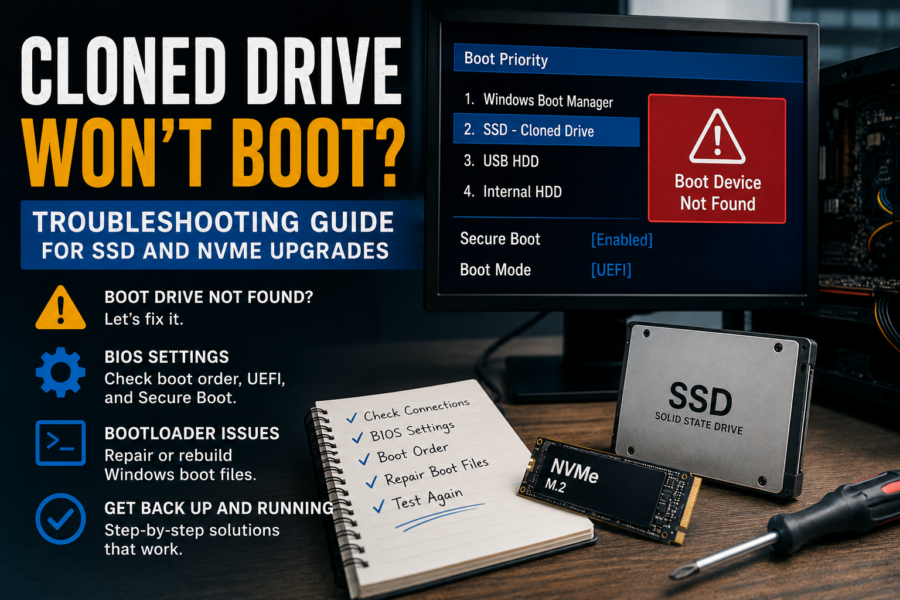
A completed clone does not always mean the replacement drive is ready to boot. The computer may be selecting the wrong device, the new drive may not be detected, the firmware mode may not match the partition layout, or required Windows boot files may need repair.
This guide begins with reversible checks and progresses to Windows recovery tools. Keep the original drive unchanged throughout the process so you retain the safest route back to your files and working installation.
Do Not Erase or Reuse the Original Drive
The original is your best fallback until the replacement starts reliably and its files and programs have been verified. Avoid formatting either drive while diagnosing a startup problem.
Before changing firmware settings or running a repair, photograph or write down the original configuration. Change one item at a time so you know what affected the result.
Identify the Exact Symptom
Drive Is Not Detected
The SSD or NVMe drive does not appear in the firmware, storage list, installer, or Rescue environment. Begin with the connection, slot, drive type, and storage-controller settings.
No Boot Device
The drive is detected, but the computer reports “Boot Device Not Found,” “No Bootable Device,” or returns directly to the firmware screen.
Windows Recovery or Error
Windows Boot Manager begins loading but displays Automatic Repair, a blue-screen error, or a recovery message. The boot path exists, but Windows cannot finish starting.
BitLocker Recovery
The computer recognizes Windows but requests a recovery key after the drive or startup configuration changed. This is different from a missing bootloader.
Common Causes After Cloning
- The computer is still trying to start from the old drive, USB media, or another device.
- The replacement drive is loose, connected through the wrong interface, or incompatible with the slot.
- Only the Windows partition was copied and the EFI or other required system partition is missing.
- The computer is set to Legacy/CSM mode for a GPT/UEFI installation, or UEFI mode for a legacy MBR installation.
- The Windows Boot Manager firmware entry points to the wrong disk or is missing.
- The storage controller is using a different mode, such as AHCI versus RAID/Intel RST/VMD.
- BitLocker or device encryption detected a startup change and requires the recovery key.
- The source already contained damaged Windows or file-system information.
- The clone to a smaller destination omitted, misplaced, or improperly resized a required partition.
- The cloned Windows installation was moved to substantially different hardware.
Troubleshooting Order
Detect
Confirm that the firmware and recovery tools can see the physical replacement drive.
Select
Choose the correct Windows Boot Manager entry and remove other-drive confusion.
Match
Verify UEFI/GPT, Legacy/MBR, encryption, and storage-controller settings.
Repair
Use Startup Repair, the cloning program’s recovery tool, or BCDBoot only as needed.
Step 1: Disconnect Devices That Can Cause Confusion
Shut the computer down. Remove the cloning or Windows installer USB and disconnect unnecessary external drives. When it is safe and practical, disconnect the original system drive for the first startup test.
This prevents the computer from silently using boot files from the original while loading Windows from the clone—or simply starting the old Windows installation and making the clone appear successful.
Step 2: Confirm That the Replacement Is Detected
Open the computer’s UEFI/BIOS setup or temporary boot menu and look for the replacement drive or a Windows Boot Manager entry associated with it.
If the drive is missing:
- Shut down and reseat an M.2 drive or reconnect SATA data and power cables.
- Confirm that the M.2 slot supports the installed drive type. M.2 SATA and M.2 NVMe are not automatically interchangeable.
- Try another known-working cable, port, slot, adapter, or enclosure where appropriate.
- Check whether the slot is disabled or shares lanes with another connector.
- Confirm whether Intel RST/VMD, RAID, or another storage-controller mode affects visibility.
- Test whether the drive appears in the cloning program’s Rescue environment or Windows installer.
A bootloader repair cannot help until the computer can communicate with the physical drive.
Step 3: Select Windows Boot Manager
Open the temporary boot menu and look for Windows Boot Manager associated with the replacement. Modern UEFI computers often start from this entry rather than one labeled only with the SSD model.
If that works, enter firmware setup and place the correct Windows Boot Manager entry first in the normal boot order. Avoid deleting other firmware entries while testing.
See Boot Menu Keys for HP, Dell, Lenovo, and Other Computers for the common startup shortcuts.
Step 4: Match the Firmware Mode to the Disk
Modern UEFI Installation
Windows 11 and most recent Windows 10 installations normally use UEFI firmware, a GPT system disk, and a small FAT32 EFI System Partition.
Legacy Installation
An older installation may use Legacy/CSM startup, an MBR disk, and an active system partition containing BIOS boot files.
The clone should normally retain the source installation’s partition style, and the firmware should remain in the same mode used before cloning. Randomly switching between UEFI and Legacy/CSM can hide the correct boot entry or create a different problem.
If you deliberately converted MBR to GPT while cloning, confirm that the computer supports UEFI and that a valid EFI System Partition and UEFI Windows Boot Manager entry were created.
Do Not Disable Secure Boot Automatically
A normal, correctly configured Windows 10 or Windows 11 clone should generally be compatible with Secure Boot. Disabling it may sometimes help isolate a configuration or boot-file problem, but it should not be the first universal fix.
If you test a Secure Boot change, record the original setting and restore it after repairing the underlying problem. Changing Secure Boot, TPM, or startup mode can also trigger a BitLocker recovery-key request.
Step 5: Respond Correctly to BitLocker Recovery
If the screen specifically requests a BitLocker recovery key, the computer has reached an encrypted Windows volume. Enter the correct 48-digit recovery key associated with that device or volume.
Do not format the drive to bypass the prompt. If the recovery key cannot be found, avoid further changes until you have checked the Microsoft account, organization records, printed copies, USB storage, or other location where the key may have been saved.
After Windows starts, verify the encryption state before making more firmware or storage changes.
Step 6: Check the Storage-Controller Mode
If Windows begins loading and then produces an inaccessible-boot-device error, compare the current storage mode with the setting used by the original installation. Common possibilities include AHCI, RAID, Intel RST, and Intel VMD.
Do not switch modes repeatedly. Windows may lack the driver required for the newly selected controller mode. If the clone was placed in another computer, that computer may also require a manufacturer storage driver before Windows can access the NVMe or SATA device.
Step 7: Run Windows Startup Repair
Use Windows Recovery Environment before attempting manual boot commands:
- Start from a compatible Windows installation USB or enter Windows Recovery Environment.
- Select Repair your computer rather than Install.
- Choose Troubleshoot, then Advanced options.
- Select Startup Repair.
- Choose the Windows installation if prompted and allow the process to finish.
- Remove the USB and test the replacement drive again.
Startup Repair is the appropriate first automated tool for missing or damaged startup information. It will not correct an undetected drive, incompatible interface, or physically failing SSD.
Step 8: Use the Cloning Program’s Boot Repair
If the clone was made with Macrium Reflect, start its Rescue Media and look for Fix Windows Boot Problems. Confirm that the replacement is the intended system disk before applying the repair.
For AOMEI or another cloning product, consult the recovery tools and current documentation supplied with that version. Menu names and supported repair operations can change.
Step 9: Confirm That All Required Partitions Were Copied
Use the cloning Rescue environment, Windows installer, or DiskPart’s read-only volume list to examine the replacement. A typical UEFI/GPT Windows disk can include:
- An EFI System Partition, usually a small FAT32 volume
- A Microsoft Reserved partition
- The main Windows partition
- One or more recovery or manufacturer partitions
If only the large Windows partition was cloned, there may be nowhere for the UEFI boot files to reside. Re-cloning the complete disk layout is often safer for a beginner than manually creating missing partitions.
Advanced Repair: Recreate UEFI Boot Files with BCDBoot
Use this section only after confirming that the replacement is detected, Windows files are present, the disk uses GPT, and an EFI System Partition exists. Recovery environments frequently assign Windows a letter other than C:.
- Start Command Prompt from Windows Recovery Environment.
- List the volumes without modifying them:
diskpart
list volume
exit
Find the large Windows volume by checking likely letters. For example:
dir D:\WindowsReplace D: with other likely letters until the actual Windows folder is found. Do not assume it is C:.
If the EFI System Partition already has a drive letter—shown here only as S:—Microsoft’s BCDBoot syntax for a UEFI repair is:
bcdboot D:\Windows /s S: /f UEFID: must be replaced with the confirmed Windows volume, and S: must be the confirmed EFI System Partition. Selecting the wrong volumes can repair the wrong disk or create further confusion.
If the EFI partition has no letter, assigning one safely requires correctly identifying the disk and volume in DiskPart. If you cannot do that with confidence, stop and use Startup Repair, re-clone the complete disk, or obtain assistance. Do not format the EFI partition as a routine troubleshooting step.
Special Case: Cloning to a Smaller Drive
A clone from a larger source can work when the actual used space and every required partition fit on the smaller destination. Problems arise when a required partition is omitted, the Windows partition is shrunk incorrectly, or the cloning program cannot reproduce the original layout within the available space.
Compare the source and destination layouts. If the EFI, Windows, or recovery arrangement differs unexpectedly, return to the original drive and repeat the clone with all required partitions selected and a deliberate resizing plan.
Special Case: Moving the Clone to Another Computer
A clone is most predictable when it returns to the same computer with only the storage drive changed. Moving the cloned Windows installation to different hardware can introduce storage drivers, firmware modes, device encryption, activation, and hardware compatibility problems.
If Windows was cloned for use in a different computer, the proper solution may require the cloning product’s redeployment feature, installation of storage drivers, or a clean Windows installation. Boot-file repair alone cannot resolve every hardware mismatch.
When Re-Cloning Is the Better Repair
Return to the original drive and repeat the clone when required partitions are missing, the wrong source or destination layout was selected, resizing produced an unusable arrangement, or the cloning program reported read or copy errors.
If the original Windows installation is corrupted, infected, or unstable, a clean installation may produce a more dependable result than repeatedly duplicating the same problems.
Cloned-Drive Boot Questions
Why is the cloned SSD detected but not listed as bootable?
The firmware may not see a valid Windows Boot Manager entry, the EFI or system partition may be missing, or the firmware mode may not match the disk’s GPT or MBR layout.
Should I remove the original drive before testing?
When it is safe and practical, yes. Disconnecting it for the first test prevents the computer from using the original drive’s boot files or starting the wrong copy of Windows.
Should I disable Secure Boot?
Not as the automatic first step. A normal modern Windows clone should generally work with Secure Boot. Test a change only for a specific diagnostic reason and record the original setting.
Why does the clone ask for a BitLocker recovery key?
Changing the storage device, TPM measurements, Secure Boot state, or firmware configuration can cause BitLocker to request its recovery key. That prompt indicates encryption protection, not necessarily a failed clone.
Can I run BCDBoot using C:\Windows?
Only if you have confirmed that C: is the Windows volume in the current recovery environment. Drive letters often change there, so identify the actual Windows folder before running the command.
When should I stop troubleshooting?
Stop if the source or destination disappears, produces errors, makes unusual sounds, or contains irreplaceable data without another backup. Also stop before formatting or changing partitions you cannot confidently identify.
Related PCRuns Guides
Hard Drive Cloning Guide
Review the complete planning process in the PCRuns Drive Cloning Guide.
AOMEI Partition Assistant
Repeat or review the AOMEI cloning workflow.
Macrium Reflect Rescue USB
Return to the Macrium Reflect USB cloning guide.
Boot Menu Keys
Find the correct startup shortcut in the manufacturer boot-menu guide.
Microsoft documents Windows Recovery Environment and BCDBoot separately. Recovery options and command behavior can change, so check the current Windows Recovery Environment guidance and BCDBoot documentation before performing an advanced repair.
Still Unable to Start the Clone?
I’m John Zettel, the owner and technician at PCRuns. I can evaluate the replacement and original drives, identify the startup configuration, and explain whether boot repair, re-cloning, data recovery, or a clean Windows installation is the most practical next step.
Service is available by appointment for Milwaukee-area homeowners and small businesses. Local pickup or a convenient public meeting location may be arranged. Please include the charger or power adapter with a laptop.